I have been posting tips and tricks at the beginning of every month and have been receiving a lot of questions about product photography. This post is about “how to take good product photos for bloggers” and is based on MY opinion and MY process as there are tons of different ways to photograph products. Everyone has their own style and idea of what a good looking photo is so I will be talking about MY idea of a good product layout and how to capture it using your phone. Yes, your phone. I realize that many of you are shooting your content off your phone and decided to take up the challenge and use my phone too! I used my HTC One M8 to capture these images, as it is user friendly and has an amazing camera as well as awesome editing features to make my product photos look just as good as my camera photos.
Lets begin!
I am going to focus on product photography shot from above for this post and will talk about product photography angles and food photography in future posts…
Step 1:
Light
Lighting is err’thang!!! The first thing you need to look for when shooting products is a well lit area, usually closest to a window. I love natural light and will do whatever I can to find a place to shoot in natural light rather than use my flash.

Step 2:
Background
What background do you want to place your products on? Do you want a plain white surface? Do you want a duvet? Do you want wood? Texture?
When deciding on your background, consider what products you are shooting and what look you would like to go for. If you want a clean, polished look – use a white table top (tip – I use my kitchen counter) or use your white duvet cover. If you want an image with depth and texture, maybe opt for a wooden table, or a fabric with texture.
See below:


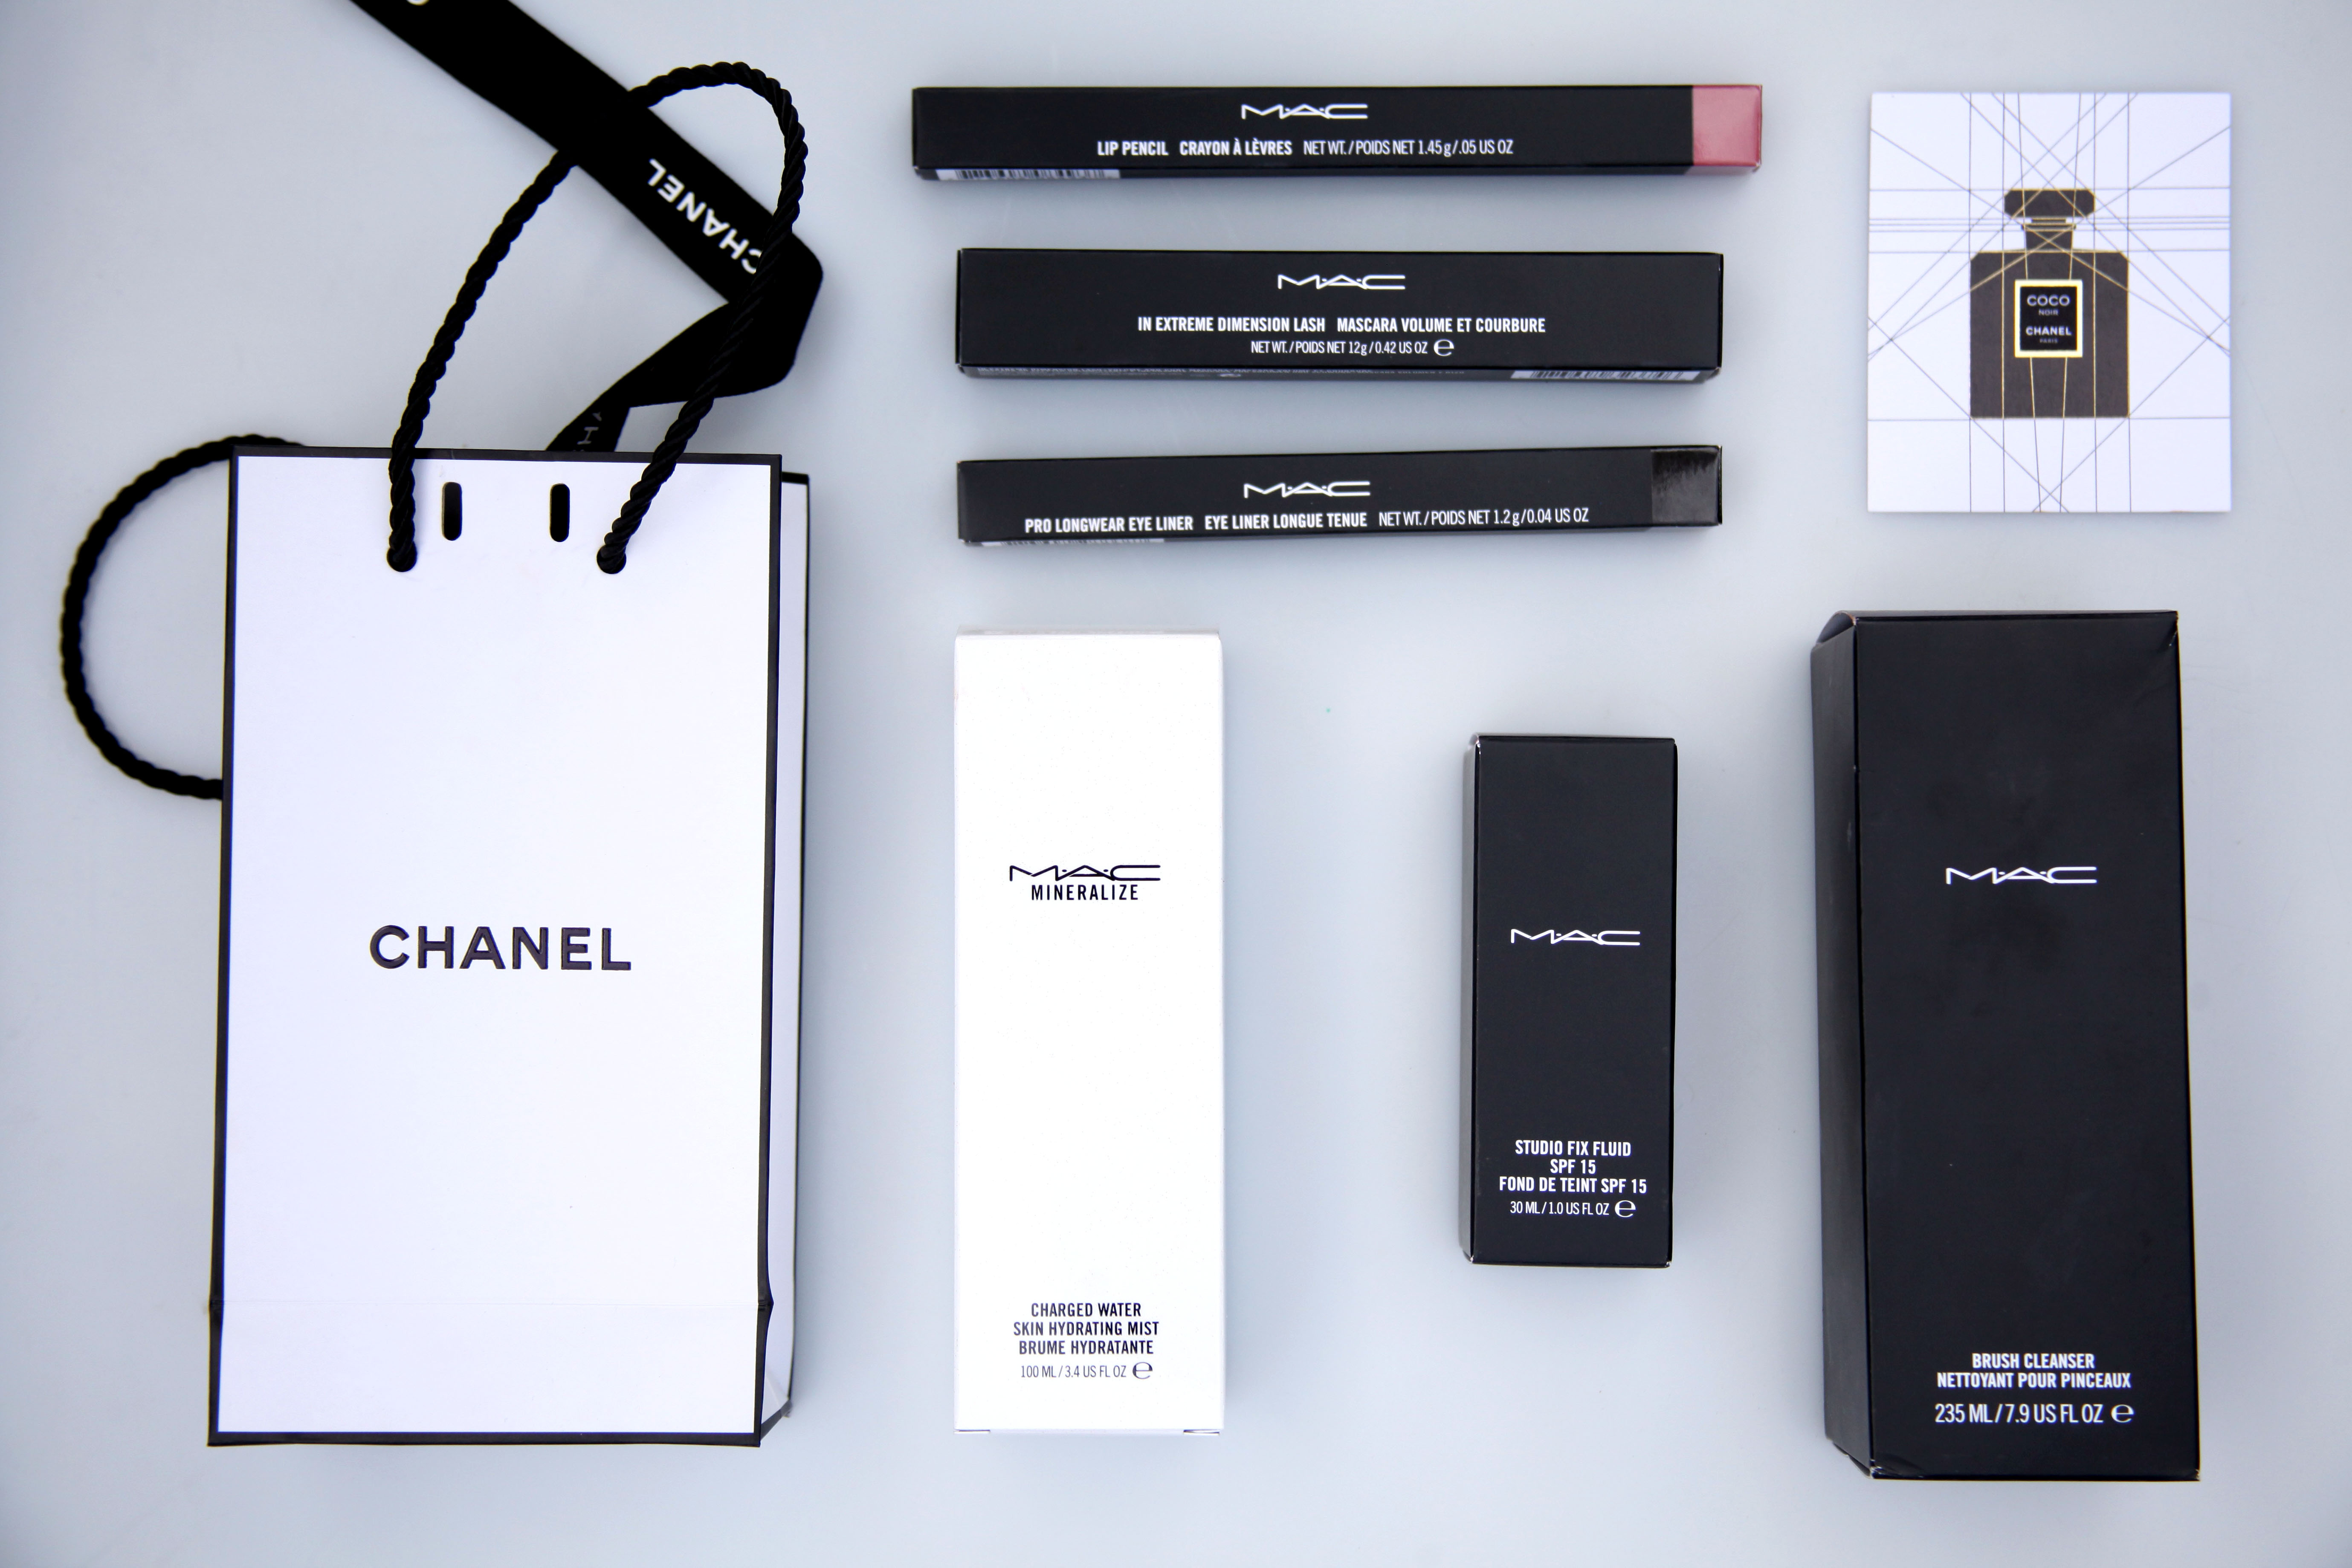
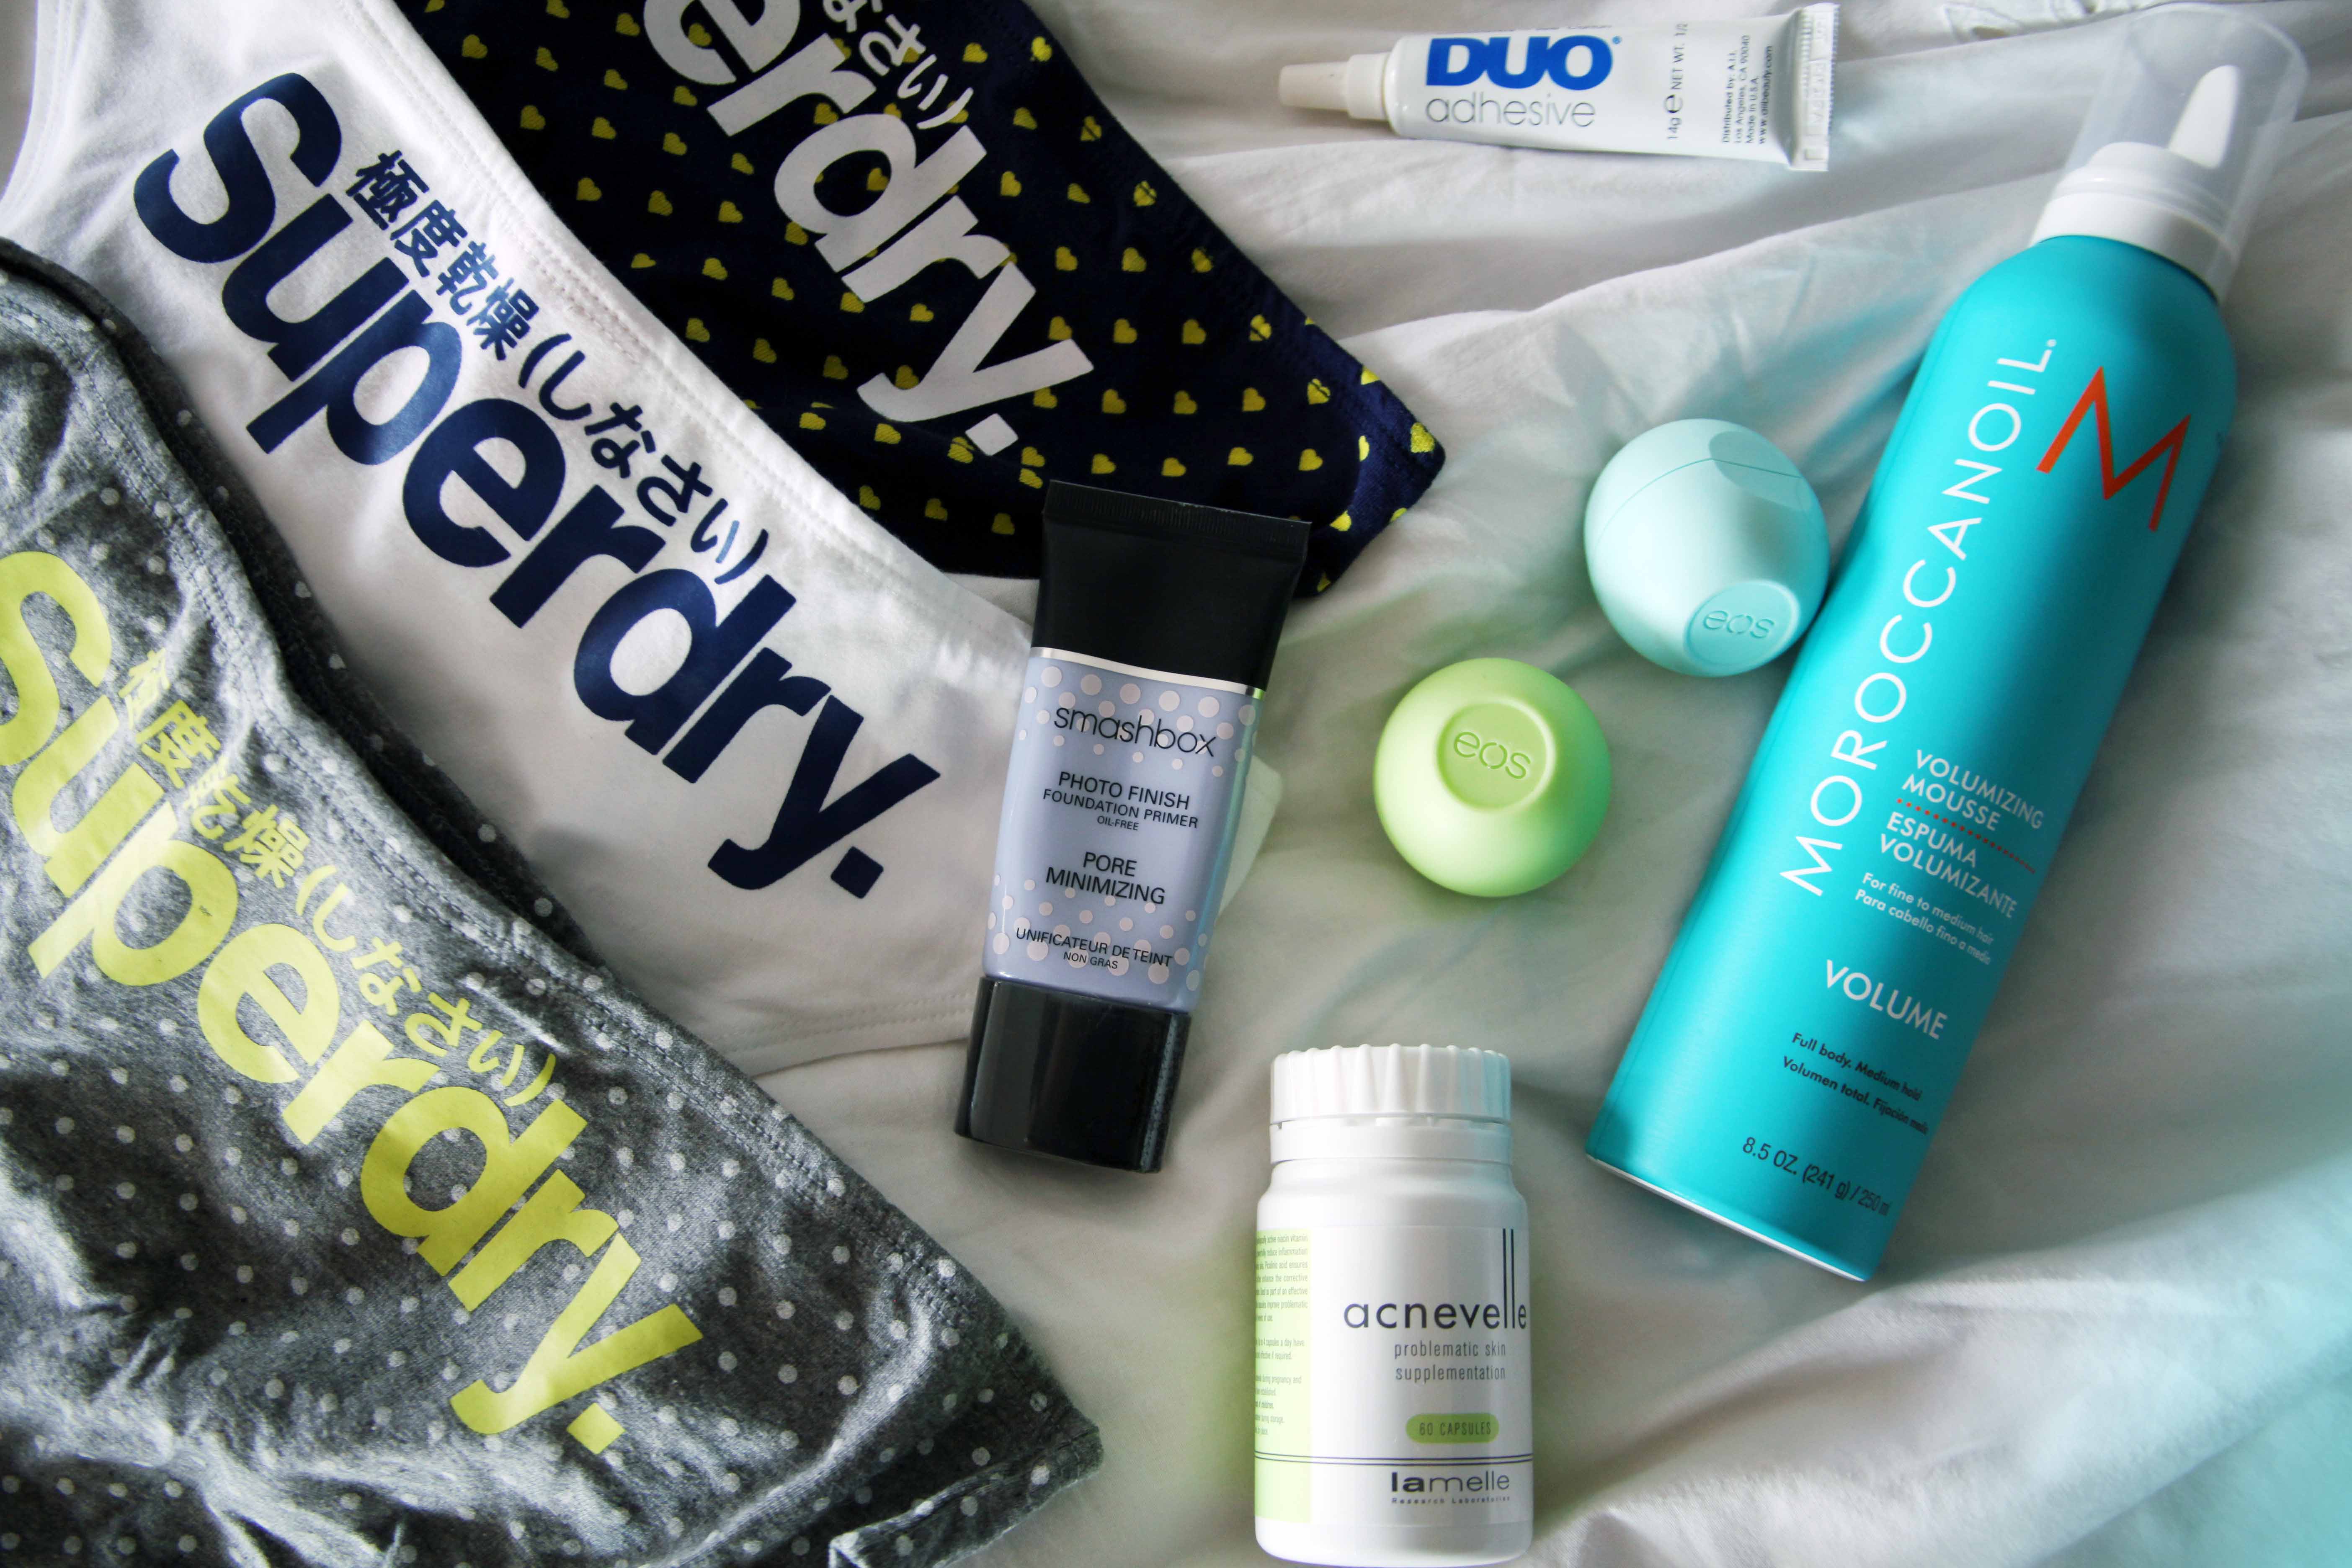
When I photographed these product shots, I opted for a clean white surface and a busy but structured layout for the Bokeh FFF one and a wooden table top for the Vida e caffe one as when I think of coffee I think of warmth, wood, textures. Notice the different feel you create just by consciously selecting a certain background.
Step 3:
Products
Select the products you use carefully. Your product layouts should make sense. For example:
A beach product shot would include tanning lotion, a towel, sunnies, beach accessories and not a pair of heels. When selecting your products, think about what scene you are creating by placing each product in the image. Maybe you are photographing your monthly faves, this would allow you to mix and match all different products, other than that, think about the scene you are creating as each product that you add tells a story of where you are, what you like and what you are using.

Step 4
Layout
Before placing your products you need to decide whether you want a clean, minimalistic look or a busy look.
Which ever style you choose, placement and composition is key! Personally, I love patterns, lines and symmetry so you will notice that most of my product photos are carefully arranged to create straight lines. The example below is from a shoot I did for Kamara Sivada:


Do you see the straight lines and composition I created in these images?
You can also opt for a busier, more spontaneous feel which is what Aisha Baker usually likes. This is a shot that we styled and photographed together:
Step 5
Angle
So you have decided on light, background, products and the layout. Now it is time to capture the image. Shooting from above may be tricky but grab a chair nearby – hop on and snap away. Another option is to shoot on the floor, I did this when shooting the beauty products for Kamara Sivada above. Invest in a white piece of perspex or polyboard and place it on the floor as a background for all of your product shots!
Make sure your camera is dead centre so that you capture the image straight on (see the difference below).
 Angled
Centered
See the difference it makes just by carefully planning your angle?
vogueeyewear, yeirkif.abdullah and talyagoldberg are my top 3 favourite product instagrammers this week. Who are your top three faves? Tweet me their handles at @tegzphotography
Happy shooting!!
x0x0

Great post Tegan 🙂 x
Thanks so much!!